Showing posts with label DIY. Show all posts

Sunday, October 28, 2012

Hall-O-Ween

It is 3 days before Halloween and we have been getting in the spirit for about a month now. We did the Soap Factory-Haunted Basement in Minneapolis and The Haunted Hayride at Running Aces and ValleyScare a few weekends ago. It's always fun to get in the spirit of the holidays. But my fiance's family LOVES halloween so we always have a busy October. 
 
This weekend was costume bowling and the Halloween feast. Costume bowling always requires some preparation since we have to do couples costumes, but in our case, group costumes. So we did some thinking about what we wanted to do for the three of us. Here is what we decided: 


The Flash, Superman, and The Green Lantern

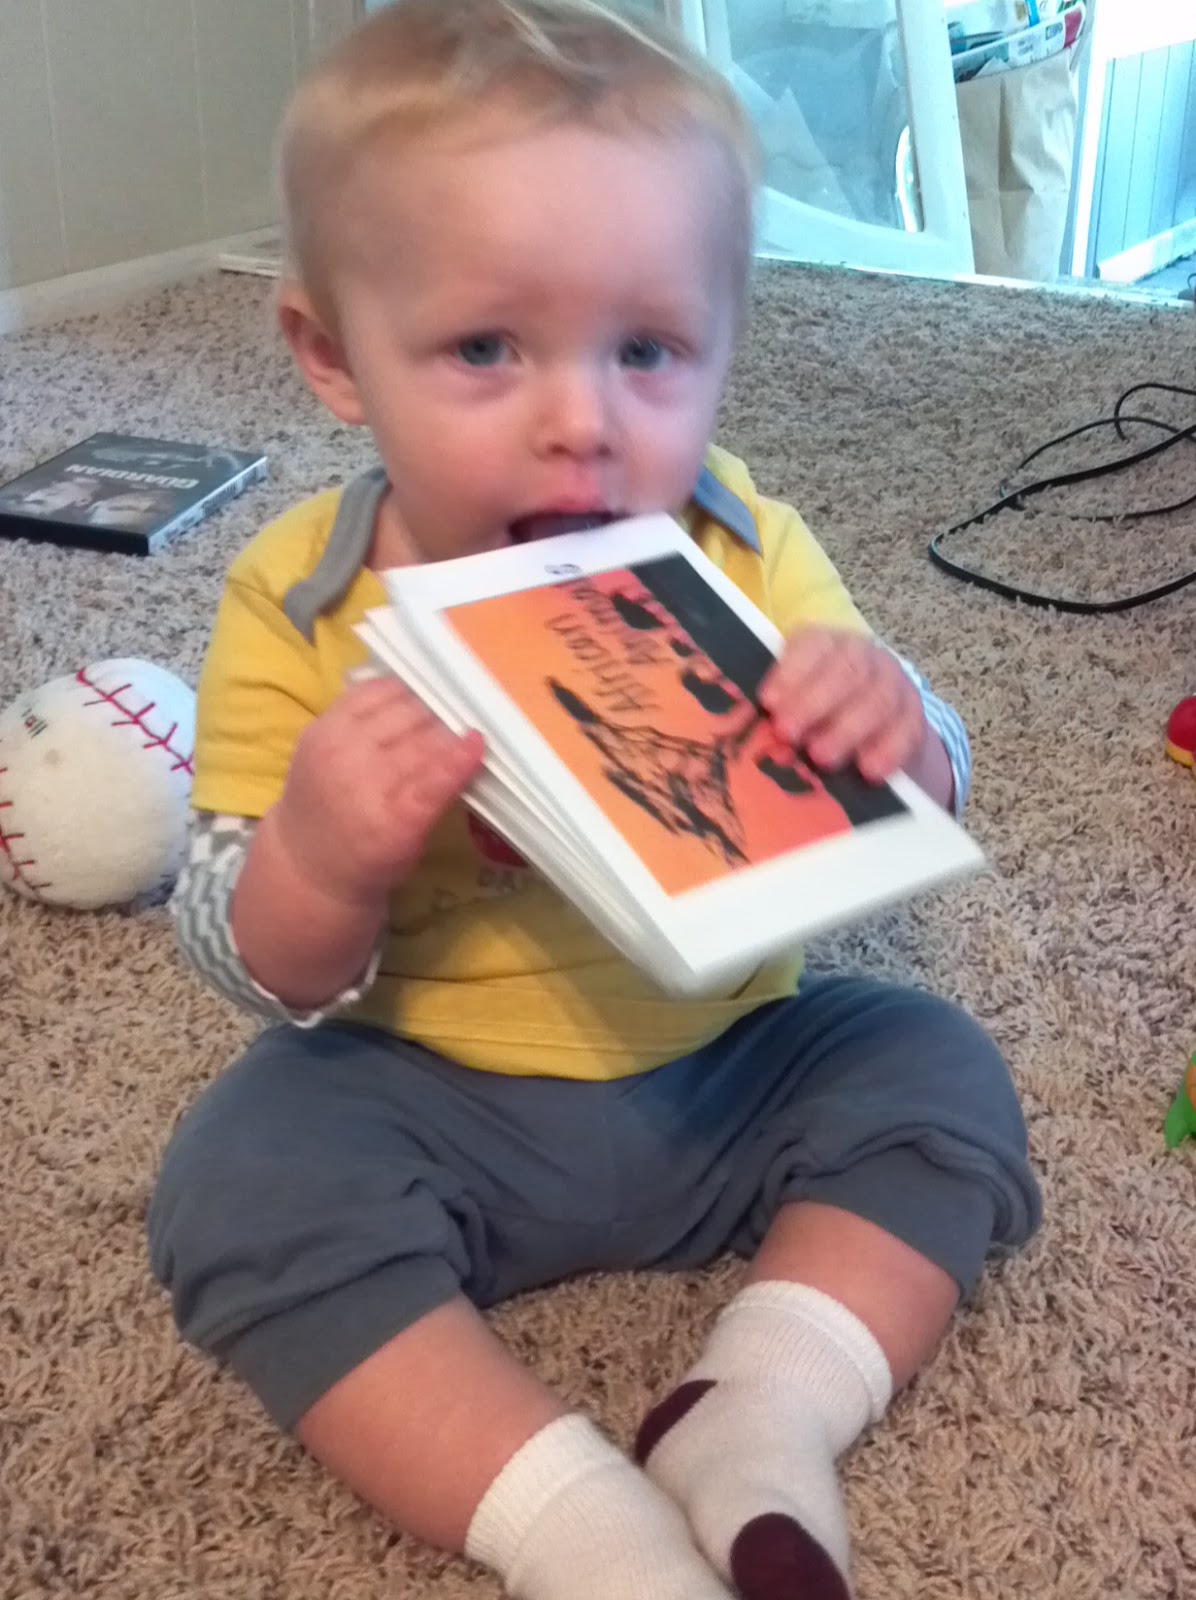
Colton made a really cute little Superman. It was hard to get good pictures since he never sits still. But hey, that's like superman right?? 

Costume bowling was really fun, as always, but there was only one other group dressed up. It's a little weird when Halloween is in the middle of the week. 

But Saturday was the Halloween feast and it was super delicious! I love meals that are themed and creative. Next year I am going to try to have a more active roll in preparing the meal. Might even try to contribute my own recipes! Sounds like a lot of work right now, good thing I have a whole year to think about it. But after our delightful meal, we do pumpkin carving.

Pumpkin carving is so much work. Gutting the pumpkin, deciding on a design, actually carving. By the end, my wrists are killing me! So this year I decided to go another route. I have been seeing a lot of pins  with melted crayon and I have been trying to figure out what I could make so that I could try it. And I had seen some crayons art on pumpkin, and well, I wanted in on the fun. Here is how mine turned out...


I started by cleaning off the outside of the pumpkin with water and a towel and I dried it completely. Next, I painted the entire outside of the pumpkin white. I used blickart Acrylic paint. I just did one coat so it looked a little line-y and ghost-like (and because I didn't want to do another coat..). I let the white coat dry and painted that face with black acrylic paint. After that, I found all the old red crayons I had. I used many different color reds to give it more of a bloody feel. I used a hot glue gun to attach the crayons around the stem of the pumpkin. After that I used a hair dryer to melt the crayons. 

WARNING: Have someone hold up newspaper all around the pumpkin or you will have red wax EVERYWHERE! 

I learned that the hard way. I spent 15 minutes cleaning up little red wax droplets. Lesson learned. Anyways, it was a hit. I like how it turned out. But I think next time, I would put a knife in the pumpkin somewhere and glue they crayons around it. That would make it look like the pumpkin got stabbed and was bleeding from the wound. But here is are a few different views of the pumpkin so you can get a better look! 


You can see some of the crayons didn't melt completely. But I think it still looked pretty good for my first time! Hope I was able to give you some good ideas, or at least get the creativity flowing! 

Until next time :) 

-A


Wednesday, September 5, 2012

Floating Picture Frames

I am almost through week two of living in my new place, and I have been continuing to work on decorating. I LOVE having pictures all over but get sick of the same old picture frames. While shopping around for picture frames a few years ago I came across the floating frames at Michaels or JoAnns and I really like them. They allow you to be as creative as you want. They also allow you to do  different size pictures and patterned papers.

If you don't know what a floating picture frame is, it is basically just a two pieces of glass with pictures in between inside a frame. You can buy one here.


I gathered the pictures that I wanted to put in my frame, a "family" paper cut-out, some different patterned scrapbooking paper, and tape. 

I arranged my paictures the way I wanted them, did any cropping I found necessary, and then when it was the way I wanted, I taped it all down. You do not have to do any taping, but sometimes the frame doesn't hold the glass close enough together and pictures slide around. 

 This is my finished product!
(note: The pictures I used are big! I have three 5x7s, an 8x10, and a 4x6 that I cut down. If you use smaller pictures you can fit many more!)

(If you have walls that are not white, you should think about the color when deciding on pictures or paper that you will use. If the colors are too similar to your wall, you might have a hard time seeing the beautiful pictures in the frame.)

More ideas:
-Diploma, with pictures from graduation. If there is an achievers, or any other scrapbooking store, near you they often have different stickers and embellishments from the local high schools that you can add to it to make it look more professional. Otherwise DIY is always good! 

-Baby pictures. I have been taking pictures monthly and plan to make a floating frame with a picture from each month to show how much he has changed in the first year. Smaller Pictures around the outside and a larger one in the middle with letters showing what month each picture is from.

-School Pictures, K-12. You can find paper that shows their favorite thing from that year (a sport, a cartoon caracter, pink sparkles, cookies, etc.) and frame each picture so you remember what they liked at each age. 


Tuesday, August 14, 2012

Make Your Own Kids Book

Now this is something I found on Pinterest that I changed a little to fit my needs. Here is the link for that post! It is idea number 5.

But basically it is just a way to make your own book for infant/toddlers. It is cheap and if you have to throw it away, no biggie.

I decided I was going to make an animal book for Colton, because he LOVES The Lion King. So I thought it would be cute if I did an African Animal book.
Here is what you need:
I printed off pictures of African animals from google images and cut them out. I grabbed scotch tape, 4x6 index cards, and markers. Pictured is sandwich bags, but i ended up using CONTACT PAPER.

I taped the pictures onto individual index cards, and the educator in me wrote some facts about the animal on the back of each card :)

I then used contact paper to make each card waterproof and drool proof. (This is where the original post used sandwich baggies. But my little guy has sharp teeth and he would be eating the plastic in minutes. So i decided on contact paper!)

Cut it down so there isn't too much extra contact paper hanging off each card. Decide what order you want the cards in. Then use tape or contact paper, I used contact paper, to bind the book. 

I first did the entire book, which really only held the first and last pages, then I put contact paper in between each pages individually. Putting it in between each of the pages helps to reinforce the binding of the book. It really keeps it together. 

This was my finished product:

I didn't really think it through how the pages would look, because as pictured about it says Lion and has a picture of a giraffe on the next page. I think if I made another I would plan it out better and have the picture correspond with the text. But I think it works for the purpose he will use it for.

The most important part: He seemed to enjoy it!


So that's that. Hope you enjoy! 

Monday, August 13, 2012

Bridesmaid Gifts

In my attempt to have a small wedding, I have decided to have a pretty large wedding party. Surely having 8 bridesmaids isn't that many right? Okay, I will stop kidding myself, it's a lot. But since the wedding is out of town we are making a weekend out of it. And hey, the more the merrier! So anyway I decided to have 3 maids of honor, and 5 bridesmaids and I wanted to ask them in a special way. I started looking around pinterest (obviously!) and I found a few cute ideas, but couldn't quite decide. I kind of knew I wanted to do a box of some sort with stuff inside. So I went to Joanne's and this is what I bought:


I got a cardboard chest looking box for each girl, paint in my wedding colors, paintbrushes, little flower embellishments in my colors and some scrapbooking paper. The total for all of this was around $100.

I guess I should mention I already decided that the MOHs would be wearing purple and the BMs would be wearing the aqua (Malibu). So I painted the outside of each box the color of the dress they would be wearing and the inside the other color.

Ex: of MOH box

After this I had to decide what I wanted to put in the box. On a random trip to target, I went in the travel section and decided that it would be a cute idea to put some travel sized items that they could use that weekend. Inside I put a shampoo and conditioner, deodorant, sunscreen, hairspray, toothbrush and toothpaste, and mouthwash. I also found mini bottles of flavored margarita mix that made one drink (non alcoholic). I put in one bottle per box. I also bought little plastic diamond rings that I put in there too, along with a little cards that said a little about the wedding and wedding party.

Here is what they looked like completed:


I used Modge Podge to attach the scrapbooking paper with their names onto the lid of the box, and the "Will you be my Maid of Honor?" sign to the inside. If I had unlimited resources I would have wanted to add some rhinestones, but I think they turned out pretty nice!

You can see that their are cards inside.
Card 1: Was just a little thing I wrote saying that we had been through so much together and that I wanted them to be up their with me.
Card 2: Explained that the wedding was out of town, it said the date, the name of the resort, and that we would be staying together in a townhome that weekend.
Card 3: was a picture of the dress wit the price.
Card 4: Told them the name of everyone in the wedding.

It was a little time consuming, but it was worth it!